
A Simple Moss Stitch Scarf Pattern for Beginners
Why Moss Stitch Is the Ideal First Scarf
If you can knit and purl, you already have everything you need to make a scarf that looks far more complicated than it is. Moss stitch — called seed stitch in American patterns — is made from nothing but those two stitches worked in alternation, and it produces a dense, bumpy, beautifully textured fabric that looks handcrafted in the best possible way.
Two qualities make it the perfect choice for a first scarf. The first is that it is completely reversible: there is no right side to keep track of, so when you wrap it round your neck on a cold morning, both faces look equally good. The second is that it lies flat. Stocking stitch curls at the edges, which is why so many beginner scarves end up as narrow tubes, but moss stitch stays put without any border, blocking or fuss.
It is also genuinely pleasant to work. Because you change stitch every single stitch, you never get bored, and because there is no pattern to memorise, you can knit it while watching television or chatting. This is the project you keep in a bag by the door.
What You Will Need
- Yarn: roughly 200g of chunky (sometimes sold as bulky) weight yarn. A smooth, light-coloured wool or wool blend is easiest to read while you learn — tweeds and fluffy mohair make it harder to see your stitches at first. Buy an extra ball if you want a longer scarf.
- Needles: one pair of 6.5mm needles. Straight needles are fine, but a circular needle used flat will comfortably hold all the stitches and stops them sliding off in your bag.
- Notions: a blunt tapestry needle for weaving in ends, a tape measure, a pair of scissors and, if you like, a row counter.
Aim for a tension of about 14 stitches and 20 rows to 10cm over moss stitch. If your finished scarf comes out a little wider or narrower than planned, that is completely fine — this is not a fitted garment. Just check before you cast on that your fabric feels springy rather than stiff; if it is tight and squeaky, go up a needle size.
The Only Two Rows You Need to Know
Moss stitch is worked over an even number of stitches, and the whole pattern is this:
Row 1: knit 1, purl 1, and repeat that pair to the end of the row.
Row 2: purl 1, knit 1, and repeat that pair to the end of the row.
Repeat those two rows for the whole scarf. That is genuinely all there is to it. The reason it works is that on every row you are doing the opposite of what you did to that stitch on the row below, which forces the stitches to sit up as little bumps instead of lying flat.
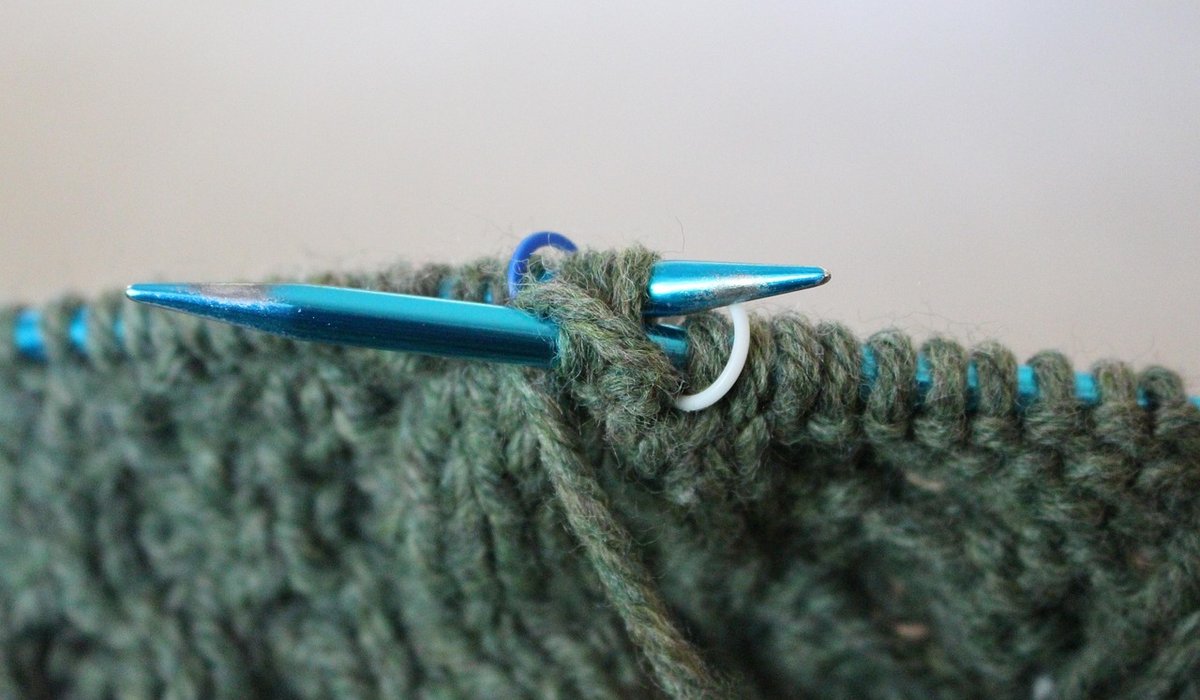
If you would rather not think about rows at all, there is a foolproof method: look at the stitch sitting on your left needle. If it looks like a smooth V, purl it. If it looks like a little bump or pearl, knit it. Do that all the way across, every row, and you will get perfect moss stitch without counting anything.
Working the Scarf
Cast on 30 stitches using a cable cast-on or a thumb method, which gives a stretchier edge than the basic backward loop. Work the first stitch of every row normally — resist the urge to tug it tight, as that is what creates a tight, pinched edge. Keep your tension relaxed and even across the row.
Now simply work the two rows above, over and over, until the scarf measures about 150cm, or until you have roughly four rows' worth of yarn left. If you prefer a shorter, cosier scarf that tucks into a coat collar, 130cm is a good length. Measure rather than count rows, because moss stitch rows are squashed together and easy to lose track of.
To finish, cast off loosely in pattern — knit the knit stitches and purl the purl stitches as you go — and use a needle one size larger than you knitted with if your cast-off tends to come out tight. A stiff cast-off edge on a scarf is the one thing that will really bother you in wear.
Common Snags and How to Fix Them
- Ribbing appears: if your fabric suddenly looks like vertical columns of knit and purl, you have worked row 2 twice. Rip back to where the bumps start and begin again.
- Loose, loopy edges: usually the last stitch of the row being worked too slack. Give it a gentle, not aggressive, tug.
- An extra stitch: almost always caused by working into the loop below the first stitch, or by not quite dropping a stitch off the needle. Count every ten rows or so.
- Twisted stitches: check that you are inserting the needle into the front leg of each stitch, not the back, unless you are deliberately working through the back loop.
Finishing and Wearing
Weave in your loose ends along the edge of the fabric, following the bumps so the ends disappear, and trim them after a few centimetres. Then block the scarf: dampen it with a light spray of cool water, lay it flat on a towel or blocking mat, pat it gently into shape and leave it to dry completely for a day or so. This settles the stitches, evens out any wobbly tension and makes the fabric feel noticeably softer against the skin.
There is no wrong way to wear a moss stitch scarf — but it looks particularly good bunched through a coat collar, or folded in half with the ends pulled through the loop. Once you have made one, you will find you know the pattern by heart, and the next one takes half the time.

4 Comments